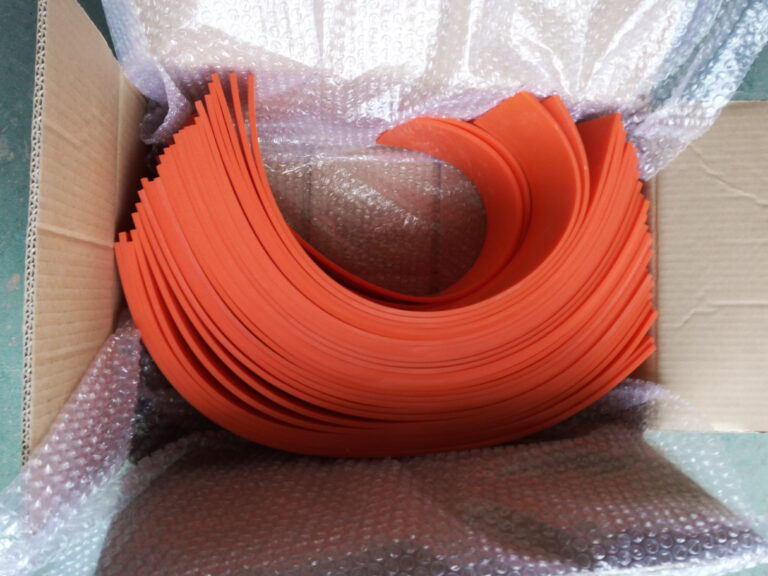
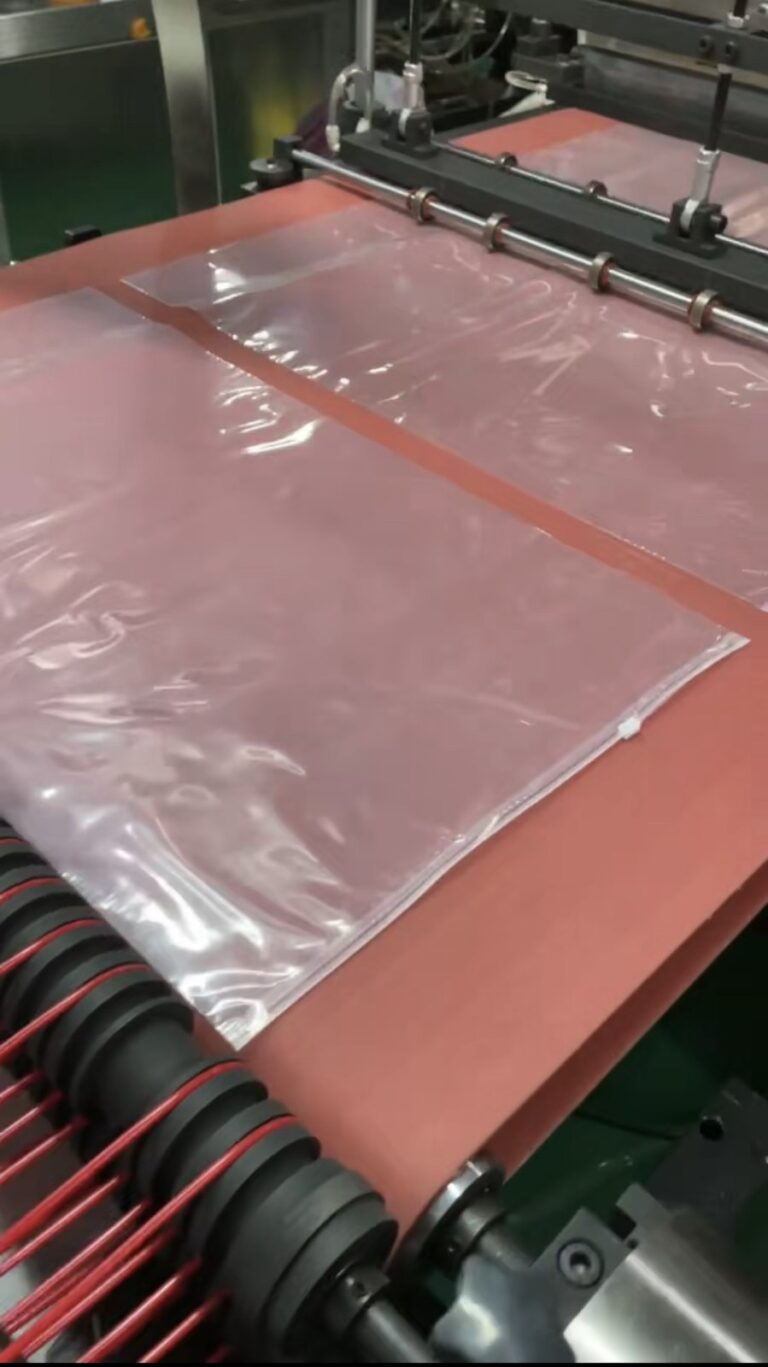
A correctly specified corona treater silicone sleeve can still fail if it is installed over contamination, stretched unevenly, damaged by a tool or operated with trapped air. Installation must follow the treater manufacturer’s procedure and the sleeve supplier’s approved method.
Safety and authorization
Only trained personnel should service a corona treater. Isolate and lock out electrical, pneumatic and mechanical energy; discharge stored high-voltage energy; stop the exhaust system only when the OEM procedure permits; and verify a safe state before work. Use lifting equipment rated for the roll. This guide is a planning checklist and does not replace the machine manual.
1. Confirm the replacement before removing the old sleeve
- Part number, material, hardness and color
- Inside diameter, wall thickness and supplied length
- Roll identification and finished outside diameter target
- Approved installation method and any installation tool
- Storage condition, shelf identification and visible condition
Keep the sleeve in protective packaging until the work area is clean. Do not drag it across the floor or place it near sharp metal chips.
2. Remove the old sleeve without damaging the roll
Use the OEM-approved cutting and removal method. Protect the metal core from knife marks, gouges and localized heating. Record bubbles, burn marks, cracks, movement and discoloration before disposal; the old sleeve contains useful failure evidence.
3. Inspect and clean the bare roll
Check the surface for burrs, corrosion, adhesive, sharp transitions, blocked air holes and damage. Measure diameter, taper and runout if the failure history is unknown. Enercon’s maintenance guidance recommends mild soap and water with a soft, lint-free cloth for non-ceramic silicone-covered ground-roll components and notes that isopropyl alcohol should be used sparingly because silicone can absorb it. Follow the specific OEM and sleeve supplier instructions for the bare roll material.
The roll must be dry and free from lint before installation. Do not use an unapproved lubricant: residue can affect fit, electrical performance or future cleaning.
4. Prepare the sleeve and installation path
Inspect the sleeve bore and outer surface under good lighting. Confirm which end enters first and how much trimming allowance is required. Support the full sleeve so its weight does not create a sharp fold. Remove jewelry and cover sharp fixtures near the work path.
5. Install with the approved method
For sleeves and rolls designed for air-assisted installation, compressed air can temporarily expand or lift the sleeve away from the roll so it can slide into position. Enercon’s Quick Sleeve procedure uses an installation tool and compressed air, then instructs the installer to slide the sleeve over the roll, remove the tool, trim to size and knead out any air bubbles before treating.
Use only the pressure, fittings and tool specified by the equipment supplier. Do not substitute uncontrolled plant-air methods. Keep the sleeve aligned with the roll axis and move it progressively; do not pull one edge far ahead of the other.
6. Remove trapped air and trim
Inspect the entire circumference and length. Work any permitted air pockets toward an open end using the approved technique. Do not puncture the sleeve unless the supplier explicitly authorizes it. Trim with a controlled fixture or guarded method that protects the roll. Verify the end position, edge quality and clearance to shoulders or machine parts.
7. Reinstall and check the station
- Confirm bearings, shaft seats and fasteners are clean and undamaged.
- Install the roll with the correct orientation and torque procedure.
- Check mechanical clearance and electrode gap according to the OEM manual.
- Rotate manually where permitted and verify no contact or binding.
- Reconnect utilities and exhaust according to the approved startup sequence.
8. Controlled startup
Start at low line speed without treatment power when the OEM procedure allows. Observe runout, sleeve movement and vibration. Add web tension and production speed in stages. Apply corona power only after mechanical checks pass. Monitor temperature, ozone exhaust, treatment uniformity and any sign of arcing.
Troubleshooting after installation
| Symptom | Stop and check |
|---|---|
| Visible bubble | Installation method, blocked air path, contamination and approved bubble-removal procedure |
| Sleeve moves axially | Incorrect fit, contamination, roll geometry or unapproved lubricant |
| High runout | Core runout, uneven seating, trapped air, thickness variation |
| Localized arcing | Surface damage, contamination, gap, grounding and electrical inspection |
| Early edge crack | Trim quality, shoulder clearance, axial stretch and roll alignment |
Post-installation record
Record sleeve batch or identification, roll number, measured dimensions, installer, date, installation method, startup speed, treatment power and initial observations. Take reference photographs. This turns the next maintenance event into a comparison instead of a guess.
For sleeve sizing and replacement, see GRFFN corona treater silicone sleeves and send the roll measurement report with your inquiry.